


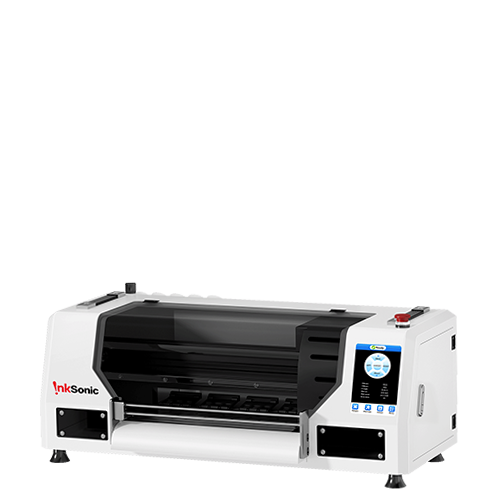


5 minutes! Master the key features of InkSonic printing software—and take your custom printing business to the next level.

For XP600 UV DTF Printer
1.1 Double-Sided Color Stickers for More Customer Choices
The updated software features two main print configurations to give your customers richer double-sided color options:
- Default Mode: Color + White + Varnish
- CWCO Mode: Color + White + Color + Varnish
Setup Steps:

- Step 1: Click "Print config set".
- Step 2: Select the "CWCO" print mode, then click "Change and Restart" right next to it. Once the software reboots, the color-white-color mode is ready to use.
Note: Want more decal design inspiration? All in blog: How to make stunning UV DTF Printer Stickers?
1.2 Auto Printhead Cleaning for Stunning Stickers
To keep your output clean and prevent clogs, the auto-cleaning feature includes a dedicated Holiday Mode:

- Holiday Mode: Automatically cleans the printhead every 24 hours.
This keeps the printer in prime condition and extends printhead lifespan even when the machine is idle, ensuring high-quality UV DTF stickers every time you print.
Note: You can toggle Holiday Mode to "Off" or adjust the waiting time (in seconds) under the "Space Auto" setting.
1.3 Eclosion Setting for More Detailed UV DTF Printing Results
The eclosion (feathering) function smooths color gradients and softens hard edges, giving your prints a more refined, professional look. It is highly recommended for complex designs with fine details or shadows.
 Note: Keep in mind that higher eclosion levels can slow down print speeds and occasionally impact final output quality. Run a few test prints to find the sweet spot for your specific designs.
1.4 Auto Printer Ink Refill for Hands-Free Operation
Skip the messy manual refills and forget about wasting time with a syringe.
Setup Steps:

- Step 1: Simply click the "Load Ink" button on the screen.
The system will automatically draw ink directly into the ink sacs—keeping your hands clean and your workspace spotless.
1.5 Color Skip Setting to Reduce Ink Consumption
Ink is one of the biggest ongoing costs in UV DTF printing. Instead of a simple white skip, the XP600 interface offers a "Color Skip Setting" that lets you manage individual ink channels.
Setup Steps:

- Step 1: Uncheck the specific color channels you want to skip.
The printer will automatically bypass the unchecked colors during the print cycle, giving you full control over ink usage and helping cut down on unnecessary consumption.
1.6 Real-Time Printhead Temperature Monitoring
No manual checks needed. The system provides active temperature tracking and smart thermal management to protect your hardware during long production runs.
 Note: Temperature monitoring starts automatically the moment the printer is powered on.
1.7 Reduce Printing Paper Waste & Optimize Layout Space
Save on film and paper by optimizing your image layouts before sending projects to print.
Setup Steps:


- Step 1: Import your target images into the layout tool.
- Step 2: Select all the imported images and click "Smart Layout".
- Step 3: Click "Confirm" to automatically optimize the layout, then export your project.
For DX7 UV DTF Printer
2.1 Double-Sided Color Stickers for More Customer Choices
The UV DTF printing software allows you to configure advanced ink layers to produce double-sided color stickers, giving your customers more design options.


The UV DTF printing software offers two print modes:
- C(4C)WV – prints Color, White, and Varnish
- CWCV – prints Color, White, Color, and Varnish.
Setup Steps:

- Step 1: Click ‘Head Select’.
- Step 2: Choose the CWCV print mode. That’s it!
Note: Want more decal design inspiration?All in blog: How to make stunning UV DTF Printer Stickers?
2.2 Auto Printhead Cleaning for Stunning Stickers
The automatic printhead cleaning feature keeps your prints clean and smooth, preventing clogs and extending your hardware's lifespan.

There are two easy cleaning modes:
- the default cleans every 24 hours
- the specific times clean printhead.
This helps maintain top performance, prevents print head clogs, and extends the printer lifespan, while ensuring you get stunning high-quality UV DTF stickers every time.
2.3 Eclosion Setting for More Detailed UV DTF Printing Results
Feathering smooths color transitions and softens edges for more detailed, high-quality UV DTF prints. It’s perfect for gradients, shadows, and fine designs—ensuring clean, pro-level results every time.

Make sure to test a few times and pick the feathering (eclosion) level that works best for your business
Note: The higher the eclosion level, the slower the printing speed might be, and it could also affect the final UV printing quality.
2.4 Auto Printer Ink Refill for Hands-Free Operation
Still struggling with messy ink and wasting time using a syringe? This feature has you covered.

Just tap "Load Ink" and the ink goes right into the sacs—no mess, no stress.
2.5 Auto White Skip Reduce Ink Consumption
Ink is definitely a big cost in the UV DTF printing process. Managing how your printer handles white ink layers can significantly cut down your operating costs.

Once you turn on this printer setting, the printer will automatically skip printing white ink to save on white ink usage. But keep in mind, the printer will still print one layer of white ink by default. So, your printed decals will have less white ink, but not none at all. You can try it a few times and decide if you want to keep using the white skip feature.
2.6 Real-Time Printhead Temperature Monitoring
Keep track of your hardware's temperature to ensure consistent ink viscosity and stable printing results.

If you're still using your hand to feel the printer’s temperature, it’s time to leap straight from the Stone Age to modern times—don’t be too surprised by how convenient it is, because everything you need is right on the screen.
Note: The printer automatically starts temperature monitoring when powered on.
2.7 Reduce Printing Paper Waste & Optimize Layout Space
Save on film and paper by optimizing your image layouts before sending projects to print.


Import the images you want to print into the printer layout tool. Then, select all the images, click MCM, and hit Confirm to complete the layout. Finally, export the project to finish.
Note: InkSonic's Layout & Design Tool, Explained Like I'm Your Design Babysitter
3. Conclusion
InkSonic’s UV DTF software is packed with powerful, easy-to-use features designed to streamline your workflow and boost your print quality. In just 5 minutes, you’ll unlock:
-
Double-sided color printing (CWCV/ CWCO) for more design flexibility
-
Auto printhead cleaning to maintain print quality and extend printer life
-
Feathering function for smoother color transitions and pro-level details
-
One-click ink refill for a hands-free, mess-free experience
-
White ink skip & Color skip modes to help cut ink costs without losing quality
-
Real-time temperature monitoring for safer and smarter printing
-
Smart layout tools (MCM/ Smart Layout) to reduce waste and make the most of every print
Whether you're a beginner or scaling up your business, InkSonic gives you the tools to create stunning results—faster, cleaner, and more cost-effective.


