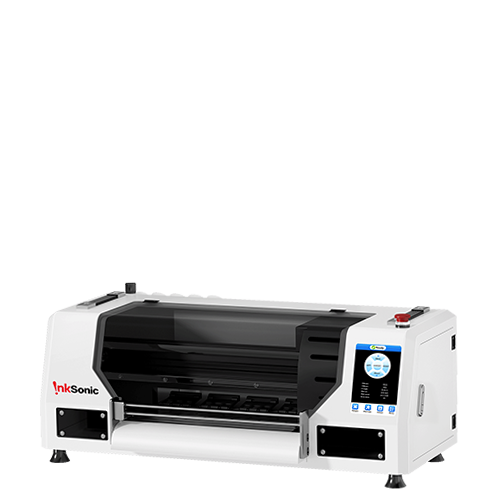
If you have observed lines appearing across your DTF prints, either horizontal or vertical, you are not the only one. These unwanted streaks — sometimes called banding problems — are one of the most frequent annoyances for users of DTF printers. Whether you print film for an application T-shirt, or a transfer for your own designs, like banding, DTF printer issues can take an otherwise perfect design and ruin it.
Fortunately banding is most often a result of easy-to-fix causes such as bad maintenance, software settings or poor materials. Note: this guide will explain what causes banding, how to fix it step-by-step, and how to prevent it in the future.

What Is Banding in DTF Printing?
Banding, also called striping, is the appearance of lines, streaks or gaps of color in the printed image. Lines are generally horizontal (perpendicular to the direction of printing), and are caused by inconsistent ink delivery or printhead firing.
DTF printing relies on proper nozzle operation, ink flow, and film feed. When any of these components isn't functioning properly, your print loses even coverage and smooth gradient—and ends up with banding.
Common Causes of DTF Printer Banding Issues
Understanding the root cause helps you solve the problem faster. Here are the main culprits behind DTF printer banding:
1. Clogged or Misfiring Nozzles
If one or more nozzles are blocked, ink won’t be sprayed evenly onto the film. This is the most common reason for banding.
Fix: Perform a nozzle check using your printer’s maintenance menu. If gaps appear in the pattern, run a printhead cleaning cycle or use InkSonic’s professional DTF cleaning solution.
2. Printhead Alignment Problems
Misalignment can cause uneven color distribution or blurry lines between passes.
Fix: Access your printhead alignment settings in the printer’s software or RIP program and recalibrate.
3. Cheap or incompatible ink
Bad quality ink results in sedimentation, irregular flow, and blocking of the nozzles.
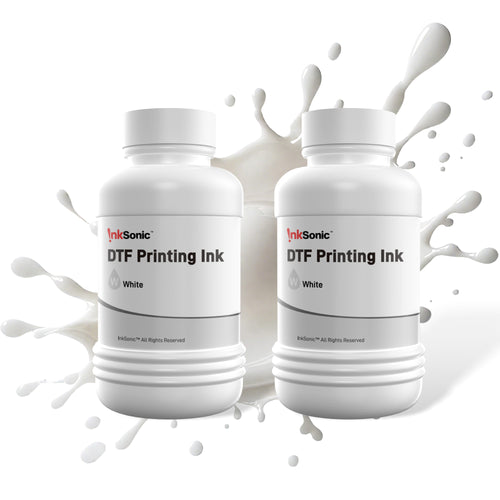
Fix: Use InkSonic high quality DTF inks formulated with Smooth flow, Low Sedimentation and stable Viscosity.
4. Incorrect RIP Software Settings
If your resolution, carriage speed, or ICC color profile is set incorrectly, banding may occur.
Fix: Adjust your RIP settings to the manufacturer’s recommendations—often, slower carriage speeds and higher resolution yield better results.
5. Film Feeding or Platen Height Issues
Uneven feeding of the DTF film or incorrect platen height may cause banding or smudging.
Fix: Ensure your DTF film feeds smoothly and the platen height is correctly adjusted according to your printer model.
6. Environmental Conditions
DTF ink viscosity can be affected by temperature and humidity.
Fix: Keep the printing area environment stable (warm at 20~30°C and moist at 40~60% RH is best) to make the ink flow always the same way up to the end.
Why There is Banding On Printing
- Uneven ink deposition or flow: Low humidity reduces the water content in the ink, making it harder to flow properly and resulting in uneven application, especially in larger coverage areas.
- Printhead nozzle clogging: Dried ink or accumulated debris can block the nozzles, leading to poor spray output and visible gaps or white lines in your print.
- Air bubbles in ink channels: When air gets into the ink tubes, ink flow is interrupted, causing visible blank areas that repeat — a classic sign of banding.
- Insufficient ink supply: If ink levels are too low, the printer won’t deliver enough pigment, leading to faded or missing bands.

- Paper feed misalignment: Dirty rollers, faulty motors, or mechanical wear can affect paper feeding, resulting in skewed print lines.
- Substandard PET Film or Coating: Banding can also be caused by low-quality or inconsistently coated DTF transfer films. A film with poor ink absorption or uneven surface tension will show defects even with a perfectly calibrated printer.
- Incorrect DTF Settings: Too few passes, wrong color sequencing, or poor dithering settings in your DTF RIP software can cause uneven ink spread and line artifacts.
How to Fix Banding Issues

- Step 1: Check ambient humidity: It should be above 35%. You can use a humidity meter or monitor it via the Inksonic printer display. If humidity is too low, consider using a humidifier or replacing your ink tank with one that has ventilation holes.
- Step 2: Check ink levels — Make sure the ink in the ink tank is at least half full; also, inspect the ink lines for air bubbles.
- Step 3: Perform a nozzle cleaning — Use your printer’s cleaning function, then slowly extract waste ink using a syringe. Print a nozzle check pattern and observe whether missing lines or banding disappear. Identify which inkjet channels are causing banding.
- Step 4: Slowly and gradually extract ink from the corresponding cartridges or use the Inksonic C13A/E13A one-click ink injection feature. Clean the printhead bottom with a lint-free cloth and soak the printhead bottom on the ink pad with cleaning fluid. After these steps, print a nozzle check pattern again.
- Calibrate Paper Feeding(if needed)
If all ink colors print but banding or misalignment persists, you might need a paper feed calibration. Contact Inksonic Support to guide you through it. Contact Inksonic support for professional paper feed calibration.
- Step 5: If banding still occurs, manually clean the printhead. For detailed instructions, please read our printhead maintenance blog or contact Inksonic’s expert team for guidance.
How to Avoid Banding Issues in Future Prints
- Regular cleaning
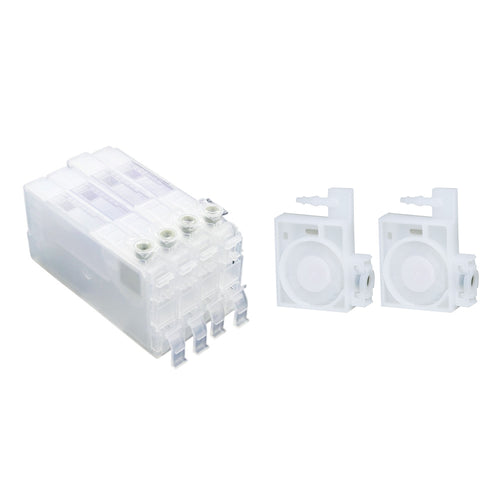
Clean your printhead regularly to prevent clogging and ensure smooth, even printing. Replace the cleaning unit on time (an essential consumable for DTF printers).
For Inksonic U13 users, replacing the ink tap greatly reduces maintenance costs.

- Adjust printer settings
Increase print resolution to capture more detail and increase ink density. For Inksonic E13A users, set the resolution up to 2880*1440 dpi.
Increasing ink concentration and enabling the feathering function in Inksonic printer settings can also improve print quality and reduce banding.
Finally, ensure you select the proper pass count and color order in your RIP software. Use high-quality printing for more even ink coverage.
- Monitor air humidity
You can directly check the Inksonic printer display to monitor humidity and adjust accordingly. You can also open the ventilation valve on the Inksonic ink tank to improve air circulation.
- Use Quality Film and Ink
Always choose certified PET film with uniform coating. Cheap film may seem budget-friendly, but it can ruin an otherwise perfect print.
- Keep a Maintenance Log
Record nozzle check results, cleaning cycles, and when issues occur. Over time, this log helps spot recurring problems and track what fixes work best.
Maintenance Prevents Banding Before It Starts
Banding often starts small—just a few faint lines—but ignoring it can lead to serious printhead damage. Make maintenance part of your printing routine:
Clean nozzles regularly
Store inks in a stable environment
Keep the printer covered when not in use
Following these steps ensures that your InkSonic printer continues producing professional-grade prints with no banding and maximum color accuracy.
Conclusion
DTF banding issues can be frustrating—but usually, they're easily fixed with proper cleaning, calibration, and quality supplies. Following the above steps and using good InkSonic ink and maintenance products will keep your printer in top working order and your prints perfectly clean.
InkSonic guides you through the process—from installation and setup to flawless, precise print results.


